How to install the Camco 55372 battery box?
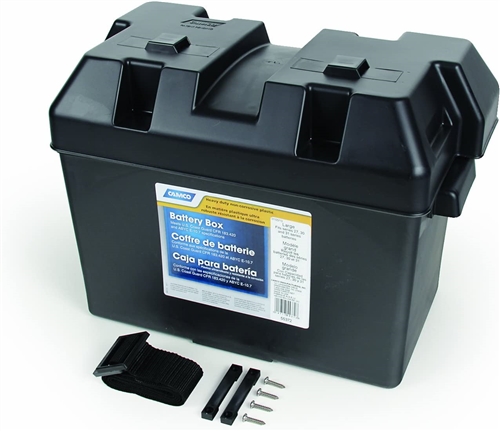
Camco 55372 Large Battery Box
Battery Accessories
How do I install this to be able to tavel with it on my camper trailer. And I have a size 24 battery will this work or do you have another size I can use.. Thanks
Question ID: 852952 Status:
Open Apr 08, 2014 - 10:35 AM
1answer
Answer
Sep 03, 2025 - 01:46 PM
Group 24 batteries measure about 10.25" L x 6.8" W x 8.9" H. The Camco 55372 inside dimensions are sized for that footprint, with a little clearance for the lid and cable routing. So your Group 24 battery will fit perfectly.
Choose a Mounting Location
Most RVs/campers mount the battery box on the tongue/frame near the propane tanks or on a frame rail.
Pick a spot that’s flat, ventilated, and away from sharp edges or moving parts.
Prepare the Surface
If mounting on metal: clean off rust, dirt, or paint where the box will sit.
If mounting on wood decking: ensure the wood is solid and not rotted.
Position the Battery Box
Place the battery inside the box to check clearance and lid fit.
Mark the mounting holes for the hold-down strap brackets.
Drill Mounting Holes
Drill pilot holes where you marked.
Use bolts with washers and lock nuts for maximum strength.
If drilling through the camper floor/frame, apply sealant to prevent water intrusion
Secure the Box
Attach the box base firmly to the camper.
Install the nylon strap hold-down system that comes with the 55372.
Tighten until the box doesn’t move, but don’t over-tighten (you don’t want to crush the plastic).
Install Battery & Wiring
Place the battery in the box.
Route positive (red) and negative (black) cables through the knockout ports on the box.
Connect to your camper’s wiring (or use quick-disconnects if you want to remove easily).
Double-check polarity before tightening.
Final Safety Check
Make sure the lid closes fully and the strap is locked.
Verify cables don’t rub against sharp edges (use grommets if needed).
Shake test: The box should not move when you push or pull.
Answer this question
View More Product Details
Camco 55372 Large Battery Box
The Camco Large Battery Box is a lightweight, heavy-duty corrosion-resistant polypropylene box which is designed to secure and protect your battery. The Camco Standard Battery Box offers solid containment for the battery to ensure it does not get over exposed to the elements.
View Product
View all Battery Accessories Questions & Answers
View all Camco 55372 Large Battery Box Questions & Answers
Share Your Own Experience & Expertise
We look to ensure that every question is answered by the best people with relevant expertise and experience, the best answers include multiple perspectives. Do you have relevant expertise or experience to contribute your answer to any of these commonly asked questions?


Add New Comment