Answer
Dec 08, 2023 - 11:43 AM
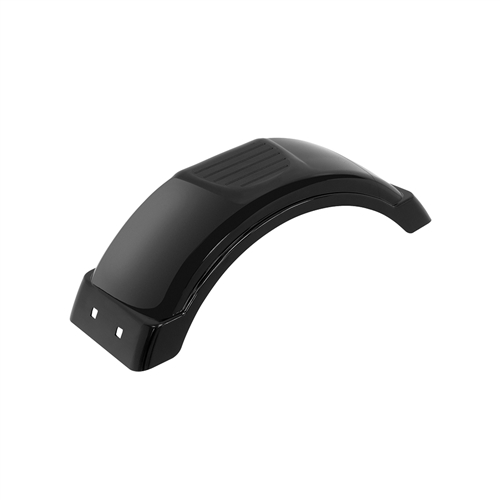
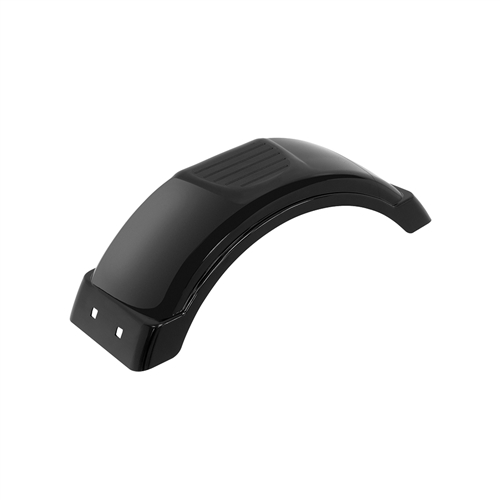
The installation steps are as follows...
1.)Remove the existing fender from the vehicle by removing the bolts and nuts that secure it to the fender bracket. You may need to use a pry tool or a trim tool to release any clips or fasteners that hold the fender in place.
2.)Clean the fender area with isopropyl alcohol and a soft cloth to remove any dirt, grease, or wax. Allow the area to dry completely before proceeding.
3.)Position the new fender on the vehicle and mark the locations of the existing holes on the fender with a grease pencil. Remove the fender and drill 5/16" holes at the marked locations. 4.)Use a hacksaw to cut off any excess material from the fender skirt if needed.
Attach the U-clips to the fender by sliding them over the edge of the fender at the drilled holes. 5.)Make sure the U-clips are aligned with the holes and the open end of the clip is facing the inside of the fender.
6.)Position the fender on the vehicle and align the U-clips with the holes on the fender bracket. Secure the fender to the bracket with the original bolts and nuts. Do not tighten the bolts and nuts completely at this point.
7.)Position the inner fender piece on the fender, aligning the existing 5/16" holes in the inner fender piece with the holes in the fender. Install the plastic push retainers through the holes to secure the inner fender piece to the fender. You may need to use an awl to make the holes larger if they are too tight for the push retainers.
8.)Tighten the bolts and nuts that hold the fender to the bracket. Make sure the fender is properly aligned and secured to the vehicle.
9.Repeat the steps for the other side of the vehicle.
( Comes with Bolts and washers)


Add New Comment