
Answer
Jan 16, 2023 - 10:00 AM
Mandy, here are some setup steps we put together. You may find them simple but we have found that going over them will usually solve most bluetooth and Wifi issues.
A. For I-Phone: Make sure that your master phone bluetooth and Wifi are both turned on. Also go to settings, tap Notifications, tap the EasyTouch_RV icon, make sure Allow Notifications is turned on.
B. For Android phones:
On your phone tap the settings icon> In the list tap apps > scroll down to EasyTouch RV and tap > now tap Storage > clear data and clear cache.
C. Go back one, scroll down and tap Notifications > make sure it's toggled on.
D. Go back one and tap on Permissions > make sure Location is toggled on.
1. First you should start the app in your phone or iPad. The app will open and if you have not entered your account information, it will ask you to create an account. Have you created the account yet?
This first step is to make sure you even made an account. Sometimes people think they must “connect” on Bluetooth. This is a BLE (Bluetooth low energy) device so we don’t need to pair it like a speaker.
2. Next it will bring you to a selection screen where you will select the Bluetooth icon. This will bring you to a list window of added controls. Are there any controls listed?
This is to make sure you completed the account setup. The question it to see if you really did and have already added the control.
3. If there are no controls, you should select “Add” from the top of the screen. This brings up a list of controls that are “Heard” by the phone or iPad. Are there any in the list?
No controls listed means the display is not transmitting. It does not transmit if it is connected to a phone or iPad so one at a time only on Bluetooth. WiFi can handle more though. Power down and back up again, easiest way to make sure we can transmit and in case of some other weirdness.
4. Select your EasyTouch control enter a name for the control. The screen should return to the selection screen and list your newly added control. Did the control show in the list? This makes sure you actually completed the process. Sometimes people hit the back or cancel button without entering the name.
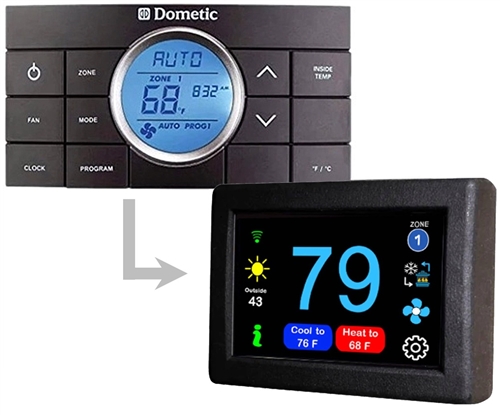
5. Select the control from the list and a new screen will appear that shows the set point, inside temp and mode. It the thermostat is off, it will just show a red power button. Did that screen appear? This is the control access screen that shows the temperature etc. This means you are actually connected which usually goes well anyway.
6. Press the settings “gear” at the top of the screen and a new menu will appear the includes an entry for WIFI. Did the menu appear? If not, try using the arrow at the top to exit the screen and go back to it to try again. You can get to the menu this way if needed.
7. Select the WIFI settings entry and enter your SSID and password on the next screen. Press “Send” and the screen will reset back to the list with your control. The display will reset and you will see the WIFI connected image on the thermostat if you entered the SSID and password correctly. Please keep in mind that the SSID and password are case sensitive. This is important. You must see the display reset and the app drop back to the control selection menu again. When the control powers back up, the WIFI symbol should be on. If not, you do not have the SSID or password correct.
NOTE:
The thermostat has an “API” limit of 31 characters for the SSID and 50 for the password. THEY ARE CASE SENSITIVE !
The API is the code provided by the microprocessor manufacturer that we interface with to make a part work.
Things to check or do about WiFi issues
1) SSID (Network name) and password are both case sensitive.
2) Be sure you are connecting to a 2.4 GHz network and not a 5 GHz network.
3) Set the security to WPA2 and TKIP+AES if you are having trouble.
4) The thermostat has a limit of 31 characters for the SSID and 50 for the password.
5) The number of devices limit for the network is not full.
6) The WiFi source is not out of range or metal partitions blocking the signal.
7) Reset the router to renew the DHCP lease. (DHCP = Dynamic host configuration protocol)
8) If you are in a full metal enclosure, try moving the router or thermostat a few inches (even if temporary) and trying again.
9) If using MAC filtering, add the thermostat to the allowed devices list.
10) Create a DCHP reservation and allocate a static IP to the thermostat using its MAC address.
Micro-Air
Technical Support


Add New Comment