Answer
Jun 01, 2021 - 06:06 AM
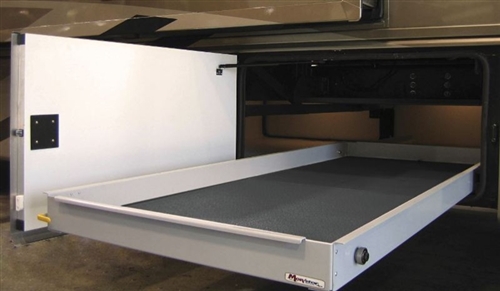
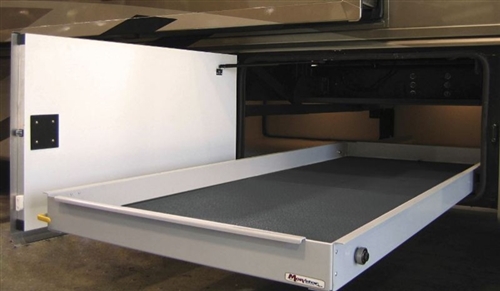
Installation Guide Cargo Trays
1. Place the tray in the desired compartment and make sure the tray clears the lip of the door frame when extended. If it does not, you may have to use shims or may purchase and install MORryde Tray Extenders (CTG54-001) along the side rails to raise the tray.
2. Make sure the tray/shims are square with the compartment. If using shims, fasten* them to the floor first.
3. Extend tray out slightly to expose the predrilled holes in the side rails. Begin to fasten the tray in the first set of holes. The mounting hole will accommodate a 5/16" bolt.
4. Continue to extend the tray outward while fastening* the tray in each of the predrilled holes until it is fully extended.
5. If NOT using a 90” tray, once all visible predrilled holes have been secured, extend the tray until it hits the stops. Lift up on the front of the tray and it will slide over the stops. This will allow you to access the mounting holes in the frame underneath the tray.
6. If using a 90” tray, extend the tray in the opposite direction and repeat steps 3 & 4. *Note: Fasteners may differ depending on application. For this reason, hardware is not included. Be cautious of tanks/plumbing underneath.


Add New Comment