Answer
Sep 19, 2019 - 02:09 AM
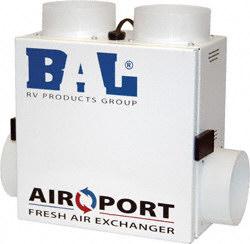
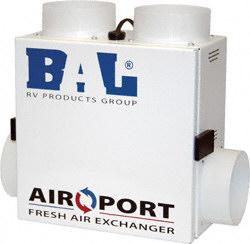
Unfortunately we no longer carry the BAL 25110 Air-Port Fresh Air Exchanger. I have included the spec sheet and installation sheet below.
http://www.rvupgradestore.com/v/vspfi...
http://www.rvupgradestore.com/v/vspfiles/assets/pdf/25100.pdf
This is for exterior installation:
1) The installation of the two exterior vents will be very similar to the interior vent procedure in steps 3 and 4 listed above. Locate two spots on the exterior of the RV that have direct access to the AIRPORT’s interior mounted location. You will need to be able to direct the ducting from the device to these vents without any interference. Again, we suggest that these two exterior locations be as far as part as possible to improve air circulation. We recommend locating the INTAKE vent thru the sidewall of the RV close to the AIRPORT. Once located, cut a 4 inch hole and install the included exterior square vent. Attach the 4 inch duct from this vent to the collar labeled ‘Fresh air from outside’. Secure the duct to the vent and collar using the included clamps or ¼” screws (not included). 2) (Choose one of the three options in this paragraph) If you have a motorhome or trailer without basement storage, one option is to put the exterior EXHAUST vent thru the floor to exhaust stale air underneath the RV. If you have a motorhome or trailer with basement storage, the second option is to exhaust the stale air into your basement compartment as long as this compartment is separated from the interior living space. This might help keep your basement compartment’s air temperature close to the temperature in the living space. The third option is to locate the exterior EXHAUST vent thru the sidewall of the RV as far apart from the previously installed exterior INTAKE vent to keep the two air flows from mixing. In any case, please check for existing wiring, plumbing, and structural elements before drilling or cutting. Once you have mounted the second square exterior vent, attach the 4 inch duct from this vent to the collar labeled ‘Exhaust stale air to outside’. Secure the duct to the vent and collar using the included clamps or ¼” screws (not included).


Add New Comment